
Install IIS On Windows 10 and Create Local Websites
I like to run IIS locally so I can develop php, WordPress and Umbraco websites on my laptop. It’s a much faster development experience than ftping files to a website or changing code in the browser.
IIS doesn’t come as pre-installed on Windows 10. Instead you must install it yourself. Luckily this is very easy to do. Let's see how that's done.
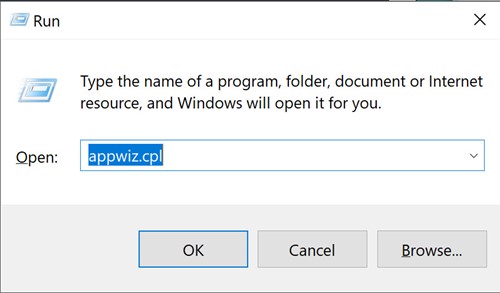
Press the Windows key and the R key (Window+R) at the same time and run appwiz.cpl
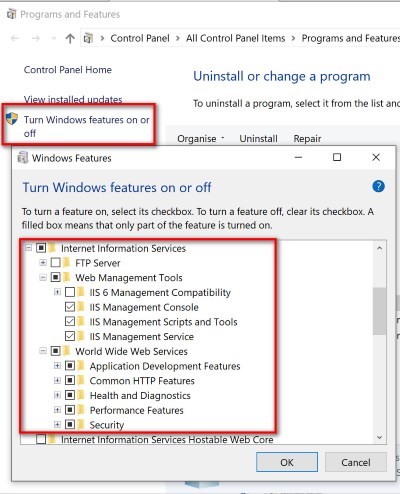
This will allow you to install Windows components via the dialog below. Click Turn Windows features on or off to bring up another dialog and then scroll to find Internet Information Services. Select the options I have shown and press OK to start the installation.

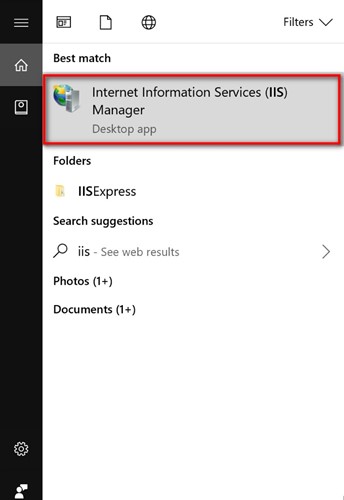
Next we need to check IIS is running and create a local website. In the Windows search bar look for and run IIS.
Expand the tree view in IIS to the Default Web Site and click on Browse *:80 (http)
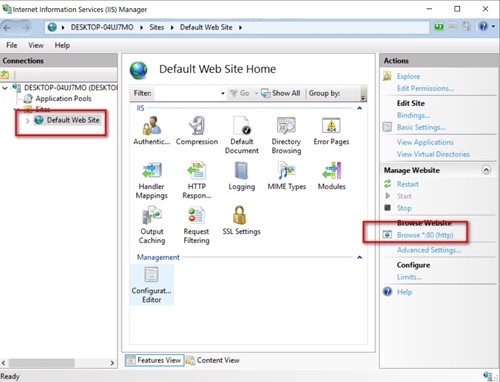
This should open a browser with a running the default IIS website. This means IIS is working!
Now we will create a website for you to use. Right click on Sites in IIS and Add Website. See my settings below but feel free to change the Site name and the Physical path.
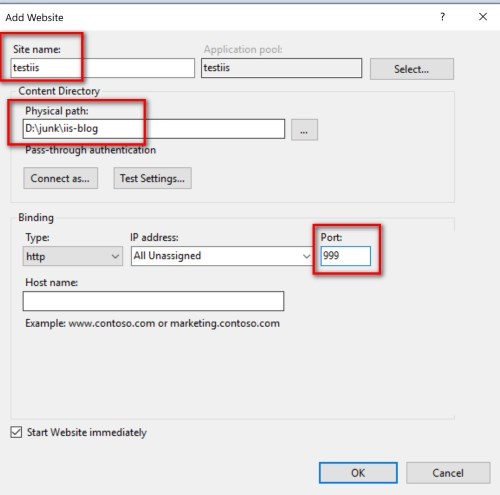
Note that the port number is 999. This can be any number you want but each website will need a unique port number.
Go the location of the physical path and add a html file such as the below:
<!DOCTYPE html>
<html lang="en" xmlns="http://www.w3.org/1999/xhtml">
<head>
    <meta charset="utf-8" />
    <title></title>
</head>
<body>
  hello iis
</body>
</html>
Call this index.html
Now all you have to do is Browse *:999 (http) and you should see your site.

It is also possible to run this site locally with a URL such as www.mysite.com. Refer to this StackOverflow article on how to do this. Personally, I don't bother with this, running off a port is just fine.